VIDEO-CLIPS-4j
Taijiquan 2009
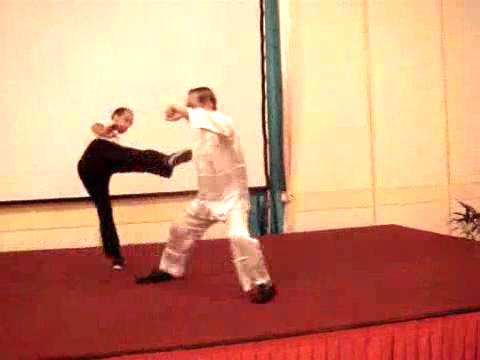
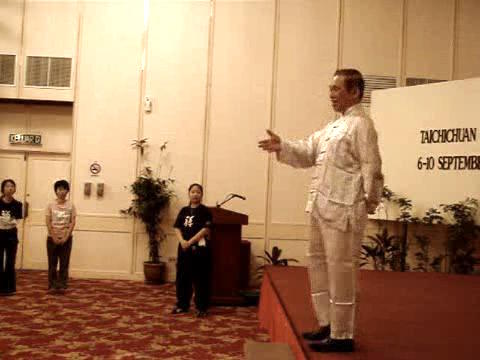 Taijiquan 2008 -- Taijiquan 04
Progressing to Striking Hands where Techniques are
Taijiquan 2008 -- Taijiquan 04
Progressing to Striking Hands where Techniques areApplied for Combat -- Overview
Our Classes are Full of Fun and Laughter -- Overview
The Signature Taijiquan Tactic of Defence
cum Counter -- Overview
Useful Tactics for Taijiquan and for Daily Life
-- Overview
Opening, Closing or Deflecting an Opponent's
Attack when Countering -- Overview
Top, Middle and Low Strikes and their
Defences -- Overview
Progressing to Striking Hands where Techniques are Applied for Combat -- Part 2
Progressing to Striking Hands where Techniques are Applied for Combat -- Part 3
Progressing to Striking Hands where Techniques are Applied for Combat -- Part 4
Progressing to Striking Hands where Techniques are Applied for Combat -- Part 5
Progressing to Striking Hands where Techniques are Applied for Combat -- Part 6
Our Classes are Full of Fun and Laughter -- Part 1
Our Classes are Full of Fun and Laughter -- Part 2
Our Classes are Full of Fun and Laughter -- Part 3
Our Classes are Full of Fun and Laughter -- Part 4
Our Classes are Full of Fun and Laughter -- Part 5
Our Classes are Full of Fun and Laughter -- Part 6
The Signature Taijiquan Tactic of Defence cum Counter -- Part 1
The Signature Taijiquan Tactic of Defence cum Counter -- Part 2
The Signature Taijiquan Tactic of Defence cum Counter -- Part 3
The Signature Taijiquan Tactic of Defence cum Counter -- Part 4
The Signature Taijiquan Tactic of Defence cum Counter -- Part 5
The Signature Taijiquan Tactic of Defence cum Counter -- Part 6
The Signature Taijiquan Tactic of Defence cum Counter -- Part 7
Useful Tactics for Taijiquan and for Daily Life -- Part 1
Useful Tactics for Taijiquan and for Daily Life -- Part 2
Useful Tactics for Taijiquan and for Daily Life -- Part 3
Useful Tactics for Taijiquan and for Daily Life -- Part 4
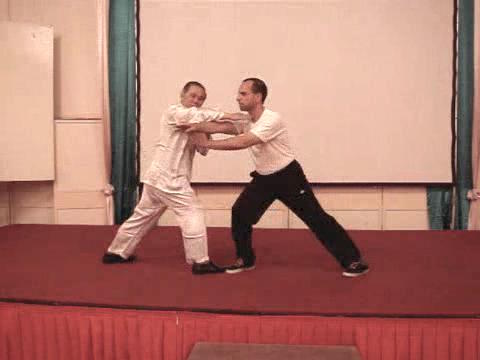 Useful Tactics for Taijiquan and for Daily Life -- Part 5
Useful Tactics for Taijiquan and for Daily Life -- Part 6
Useful Tactics for Taijiquan and for Daily Life -- Part 7
Useful Tactics for Taijiquan and for Daily Life -- Part 8
Opening, Closing or Deflecting an Opponent's Attack
when Countering -- Part 1
Opening, Closing or Deflecting an Opponent's Attack
when Countering -- Part 2
Opening, Closing or Deflecting an Opponent's Attack
when Countering -- Part 3
Opening, Closing or Deflecting an Opponent's Attack
when Countering -- Part 4
Opening, Closing or Deflecting an Opponent's Attack when Countering -- Part 5
Opening, Closing or Deflecting an Opponent's Attack when Countering -- Part 6
Opening, Closing or Deflecting an Opponent's Attack when Countering -- Part 7
Opening, Closing or Deflecting an Opponent's Attack when Countering -- Part 8
Opening, Closing or Deflecting an Opponent's Attack when Countering -- Part 9
Opening, Closing or Deflecting an Opponent's Attack when Countering -- Part 10
Top, Middle and Low Strikes and their Defences -- Part 1
Opening, Closing or Deflecting an Opponent's Attack when Countering -- Part 11
Top, Middle and Low Strikes and their Defences -- Part 2
Opening, Closing or Deflecting an Opponent's Attack when Countering -- Part 12
Top, Middle and Low Strikes and their Defences -- Part 3
Top, Middle and Low Strikes and their Defences -- Part 4
Top, Middle and Low Strikes and their Defences -- Part 5
Top, Middle and Low Strikes and their Defences -- Part 6
Top, Middle and Low Strikes and their Defences -- Part 7
Top, Middle and Low Strikes and their Defences -- Part 8
Top, Middle and Low Strikes and their Defences -- Part 9
Top, Middle and Low Strikes and their Defences -- Part 10
Top, Middle and Low Strikes and their Defences -- Part 11
Top, Middle and Low Strikes and their Defences -- Part 12
Correct Spacing and Adequate Cllosing in Yellow Bee -- Part 1
Correct Spacing and Adequate Cllosing in Yellow Bee -- Part 2
Correct Spacing and Adequate Cllosing in Yellow Bee -- Part 3
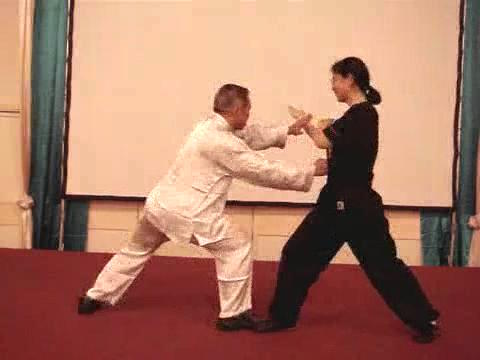 Correct Spacing and Adequate Cllosing in Yellow Bee -- Part 4
Correct Spacing and Adequate Cllosing in Yellow Bee -- Part 5
Correct Spacing and Adequate Cllosing in Yellow Bee -- Part 6
Jade Girl is as Beautiful to Watch as it is for Combat -- Part 1
Jade Girl is as Beautiful to Watch as it is for Combat -- Part 2
Progressing to Striking Hands where Techniques are
Applied for Combat -- Part 2
Jade Girl is as Beautiful to Watch as it is for Combat -- Part 3
Jade Girl is as Beautiful to Watch as it is for Combat -- Part 4
Jade Girl is as Beautiful to Watch as it is for Combat -- Part 5
Jade Girl is as Beautiful to Watch as it is for Combat -- Part 6
Jade Girl is as Beautiful to Watch as it is for Combat -- Part 7
Jade Girl is as Beautiful to Watch as it is for Combat -- Part 8
Jade Girl is as Beautiful to Watch as it is for Combat -- Part 9
Jade Girl is as Beautiful to Watch as it is for Combat -- Part 10
Jade Girl is as Beautiful to Watch as it is for Combat -- Part 11
Jade Girl is as Beautiful to Watch as it is for Combat -- Part 12
Applying the Four Basic Hand Strikes and Counters to Play with a Boxer -- Part 1
Applying the Four Basic Hand Strikes and Counters to Play with a Boxer -- Part 2
Applying the Four Basic Hand Strikes and Counters to Play with a Boxer -- Part 3
Applying the Four Basic Hand Strikes and Counters to Play with a Boxer -- Part 4
Applying the Four Basic Hand Strikes and Counters to Play with a Boxer -- Part 5
Applying the Four Basic Hand Strikes and Counters to Play with a Boxer -- Part 6
Taijiquan 2008 -- Taijiquan 05 An Excellnet Taijiquan Pattern Against Kicks -- Part 1
An Excellnet Taijiquan Pattern Against Kicks -- Part 2
An Excellnet Taijiquan Pattern Against Kicks -- Part 3
An Excellnet Taijiquan Pattern Against Kicks -- Part 4
An Excellnet Taijiquan Pattern Against Kicks -- Part 5
An Excellnet Taijiquan Pattern Against Kicks -- Part 6
An Excellnet Taijiquan Pattern Against Kicks -- Part 7
An Excellnet Taijiquan Pattern Against Kicks -- Part 8
An Excellnet Taijiquan Pattern Against Kicks -- Part 9
Spacing, Timing, Body-Movement in Strikikng Tiger Poise -- Part 1
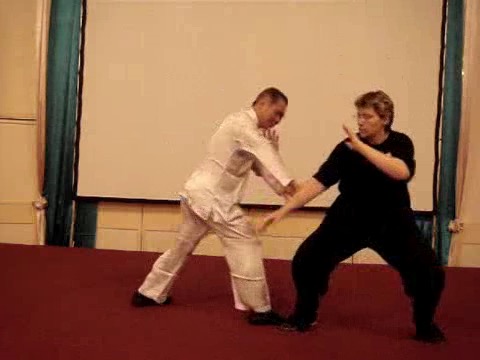 Spacing, Timing, Body-Movement in Striking Tiger
Poise -- Part 2
Spacing, Timing, Body-Movement in Striking Tiger
Poise -- Part 3
Spacing, Timing, Body-Movement in Striking Tiger
Poise -- Part 4
Spacing, Timing, Body-Movement in Striking Tiger
Poise -- Part 5
Spacing, Timing, Body-Movement in Striking Tiger
Poise -- Part 6
Spacing, Timing, Body-Movement in Striking Tiger
Poise -- Part 7
Spacing, Timing, Body-Movement in Striking Tiger Poise -- Part 8
Striking Tiger Poise against any Kicks -- Part 1
Striking Tiger Poise against any Kicks -- Part 2
Striking Tiger Poise against any Kicks -- Part 3
Striking Tiger Poise against any Kicks -- Part 4
Striking Tiger Poise against any Kicks -- Part 5
Striking an Opponent before he has Recovered from his Previous Movement -- Part 1
Striking an Opponent before he has Recovered from his Previous Movement -- Part 2
Striking an Opponent before he has Recovered from his Previous Movement -- Part 3
Striking an Opponent before he has Recovered from his Previous Movement -- Part 4
Striking an Opponent before he has Recovered from his Previous Movement -- Part 5
Striking an Opponent before he has Recovered from his Previous Movement -- Part 6
Striking an Opponent before he has Recovered from his Previous Movement -- Part 7
Striking an Opponent before he has Recovered from his Previous Movement -- Part 8
Striking an Opponent before he has Recovered from his Previous Movement -- Part 9
Important Principles in Executing Kicks and in Countering Them -- Part 1
Important Principles in Executing Kicks and in Countering Them -- Part 2
Important Principles in Executing Kicks and in Countering Them -- Part 3
Important Principles in Executing Kicks and in Countering Them -- Part 4
Important Principles in Executing Kicks and in Countering Them -- Part 5
Important Principles in Executing Kicks and in Countering Them -- Part 6
Important Principles in Executing Kicks and in Countering Them -- Part 7
Important Principles in Executing Kicks and in Countering Them -- Part 8
Learning How to Fell an Opponent as well as How to Fall Safely -- Part 1
 Learning How to Fell an Opponent as well as How
to Fall Safely -- Part 2
Learning How to Fell an Opponent as well as How
to Fall Safely -- Part 3
Learning How to Fell an Opponent as well as How
to Fall Safely -- Part 4
Learning How to Fell an Opponent as well as How
to Fall Safely -- Part 5
Learning How to Fell an Opponent as well as How
to Fall Safely -- Part 6
Learning How to Fell an Opponent as well as How
to Fall Safely -- Part 7
Learning How to Fell an Opponent as well as How
to Fall Safely -- Part 8
Learning How to Fell an Opponent as well as How to Fall Safely -- Part 9
It is Delightful to See Danty Ladies Throwing Hefty Men -- Part 1
It is Delightful to See Danty Ladies Throwing Hefty Men -- Part 2
It is Delightful to See Danty Ladies Throwing Hefty Men -- Part 3
It is Delightful to See Danty Ladies Throwing Hefty Men -- Part 4
It is Delightful to See Danty Ladies Throwing Hefty Men -- Part 5
It is Delightful to See Danty Ladies Throwing Hefty Men -- Part 6
It is Delightful to See Danty Ladies Throwing Hefty Men -- Part 7
It is Delightful to See Danty Ladies Throwing Hefty Men -- Part 8
It is Delightful to See Danty Ladies Throwing Hefty Men -- Part 9
It is Delightful to See Danty Ladies Throwing Hefty Men -- Part 10
It is Delightful to See Danty Ladies Throwing Hefty Men -- Part 11
A Technique to Counter any Throws, and a Technique to Counter any Kicks-- Part 1
A Technique to Counter any Throws, and a Technique to Counter any Kicks-- Part 2
A Technique to Counter any Throws, and a Technique to Counter any Kicks-- Part 3
A Technique to Counter any Throws, and a Technique to Counter any Kicks -- Part 4
A Technique to Counter any Throws, and a Technique to Counter any Kicks-- Part 5
A Technique to Counter any Throws, and a Technique to Counter any Kicks-- Part 6
A Technique to Counter any Throws, and a Technique to Counter any Kicks-- Part 7
A Technique to Counter any Throws, and a Technique to Counter any Kicks-- Part 8
A Technique to Counter any Throws, and a Technique to Counter any Kicks-- Part 9
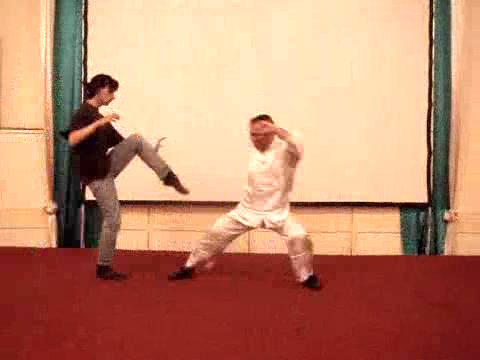 An Excellnet Taijiquan Pattern Against Kicks -- Overview
Spacing, Timing, Body-Movement in Strikikng Tiger
Poise -- Overview
Striking Tiger Poise against any Kicks -- Overview
Striking an Opponent before he has Recovered
from his Previous Movement -- Overview
Important Principles in Executing Kicks and in
Countering Them -- Overview
Learning How to Fell an Opponent as well as How
to Fall Safely -- Overview
It is Delightful to See Danty Ladies Throwing Hefty
Men -- Overview
A Technique to Counter any Throws, and a Technique to Counter any Kicks -- Overview
Taijiquan 2008 -- Taijiquan 06 A Formidable Chin-Na Attack and its Defence -- Part 1
A Formidable Chin-Na Attack and its Defence -- Part 2
A Formidable Chin-Na Attack and its Defence -- Part 3
A Formidable Chin-Na Attack and its Defence -- Part 4
A Formidable Chin-Na Attack and its Defence -- Part 5
A Formidable Chin-Na Attack and its Defence -- Part 6
Single-Hand Grips and Double-Hand Grips in Chin-Na Attacks -- Part 1
Single-Hand Grips and Double-Hand Grips in Chin-Na Attacks -- Part 2
Single-Hand Grips and Double-Hand Grips in Chin-Na Attacks -- Part 3
Single-Hand Grips and Double-Hand Grips in Chin-Na Attacks -- Part 4
Single-Hand Grips and Double-Hand Grips in Chin-Na Attacks -- Part 5
The Marvels of Lifting's Tail Water and Grasping Sparrow's Tail -- Part 1
The Marvels of Lifting's Tail Water and Grasping Sparrow's Tail -- Part 2
The Marvels of Lifting's Tail Water and Grasping Sparrow's Tail -- Part 3
The Marvels of Lifting's Tail Water and Grasping Sparrow's Tail -- Part 4
The Marvels of Lifting's Tail Water and Grasping Sparrow's Tail -- Part 5
The Marvels of Lifting's Tail Water and Grasping Sparrow's Tail -- Part 6
The Marvels of Lifting's Tail Water and Grasping Sparrow's Tail -- Part 7
The Marvels of Lifting's Tail Water and Grasping Sparrow's Tail -- Part 8
The Marvels of Lifting's Tail Water and Grasping Sparrow's Tail -- Part 9
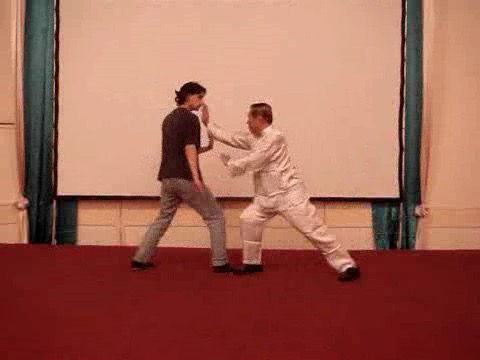 The Mechanics of Fa-Jing using Single Whip -- Part 1
The Mechanics of Fa-Jing using Single Whip -- Part 2
The Mechanics of Fa-Jing using Single Whip -- Part 3
The Mechanics of Fa-Jing using Single Whip -- Part 4
The Mechanics of Fa-Jing using Single Whip -- Part 5
The Mechanics of Fa-Jing using Single Whip -- Part 6
The Mechanics of Fa-Jing using Single Whip -- Part 7
The Mechanics of Fa-Jing using Single Whip -- Part 8
The Mechanics of Fa-Jing using Single Whip -- Part 9
What Functions does the Hook Hand Serve? -- Part 1
What Functions does the Hook Hand Serve? -- Part 2
What Functions does the Hook Hand Serve? -- Part 3
What Functions does the Hook Hand Serve? -- Part 4
What Functions does the Hook Hand Serve? -- Part 5
What Functions does the Hook Hand Serve? -- Part 6
Acting as Anchrage and Striking Vital Points -- Part 1
Acting as Anchrage and Striking Vital Points -- Part 2
Acting as Anchrage and Striking Vital Points -- Part 3
Acting as Anchrage and Striking Vital Points -- Part 4
Acting as Anchrage and Striking Vital Points -- Part 5
Grasping Sparrow's Tail and Diferent Types of Force -- Part 1
Grasping Sparrow's Tail and Diferent Types of Force -- Part 2
Grasping Sparrow's Tail and Diferent Types of Force -- Part 3
Grasping Sparrow's Tail and Diferent Types of Force -- Part 4
Grasping Sparrow's Tail and Diferent Types of Force -- Part 5
Grasping Sparrow's Tail and Diferent Types of Force -- Part 6
Grasping Sparrow's Tail and Diferent Types of Force -- Part 7
Black Bear to Fell Opponents as ell as to Counter all Throws -- Part 1
Black Bear to Fell Opponents as ell as to Counter all Throws -- Part 2
Black Bear to Fell Opponents as ell as to Counter all Throws -- Part 3
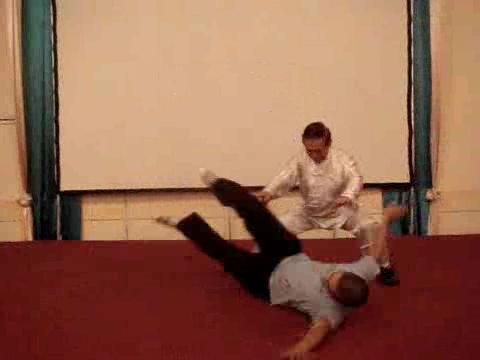 Black Bear to Fell Opponents as well as to Counter all
Throws -- Part 4
Black Bear to Fell Opponents as well as to Counter all
Throws -- Part 5
From One-Step Sparring to Sequence Sparring to
Free Sparring -- Part 1
From One-Step Sparring to Sequence Sparring to
Free Sparring -- Part 2
From One-Step Sparring to Sequence Sparring to
Free Sparring -- Part 3
From One-Step Sparring to Sequence Sparring to
Free Sparring -- Part 4
From One-Step Sparring to Sequence Sparring to Free Sparring -- Part 5
From One-Step Sparring to Sequence Sparring to Free Sparring -- Part 6
Free Sparring but Hits are Controlled -- Part 1
Free Sparring but Hits are Controlled -- Part 2
Free Sparring but Hits are Controlled -- Part 3
Free Sparring but Hits are Controlled -- Part 4
Free Sparring but Hits are Controlled -- Part 5
Free Sparring but Hits are Controlled -- Part 6
Free Sparring but Hits are Controlled -- Part 7
Applying Taijiquan against Street Fighters -- Part 1
Applying Taijiquan against Street Fighters -- Part 2
Applying Taijiquan against Street Fighters -- Part 3
Applying Taijiquan against Street Fighters -- Part 4
Applying Taijiquan against Street Fighters -- Part 5
Applying Taijiquan against Street Fighters -- Part 6
Applying Taijiquan against Street Fighters -- Part 7
Handling the Charges and Kicks of Street Fighters -- Part 1
Handling the Charges and Kicks of Street Fighters -- Part 2
Handling the Charges and Kicks of Street Fighters -- Part 3
Handling the Charges and Kicks of Street Fighters -- Part 4
Handling the Charges and Kicks of Street Fighters -- Part 5
Handling the Charges and Kicks of Street Fighters -- Part 6
Handling the Charges and Kicks of Street Fighters -- Part 7
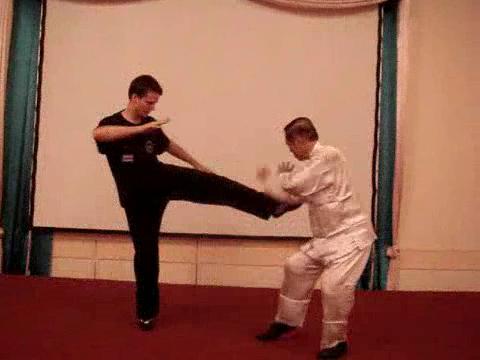 A Formidable Chin-Na Attack and its Defence -- Overview
Single-Hand Grips and Double-Hand Grips in Chin-Na
Attacks -- Overview
The Marvels of Lifting's Tail Water and Grasping
Sparrow's Tail -- Overview
The Mechanics of Fa-Jing using Single Whip -- Overview
What Functions does the Hook Hand Serve? -- Overview
Acting as Anchrage and Striking Vital Points -- Overview
Grasping Sparrow's Tail and Diferent Types of
Force -- Overview
Black Bear to Fell Opponents as ell as to Counter
all Throws -- Overview
From One-Step Sparring to Sequence Sparring to Free Sparring -- Overview
Free Sparring but Hits are Controlled -- Overview
Applying Taijiquan against Street Fighters -- Overview
Handling the Charges and Kicks of Street Fighters -- Overview
