VIDEO-CLIPS-5q
Special Wing Choon Course (Cont)
 Wing Choon Kungfu -- Wing Choon 08
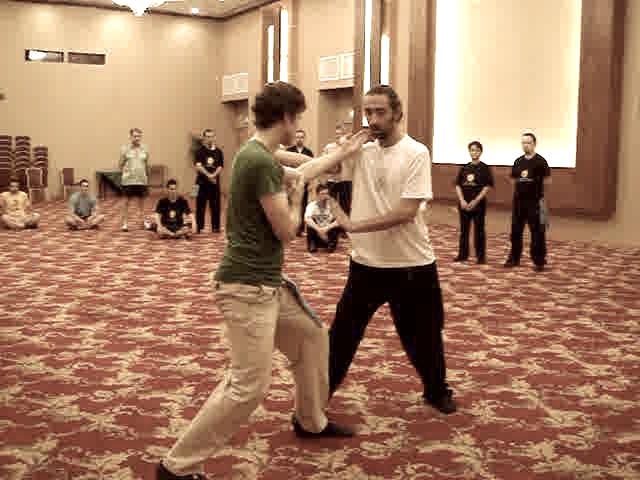
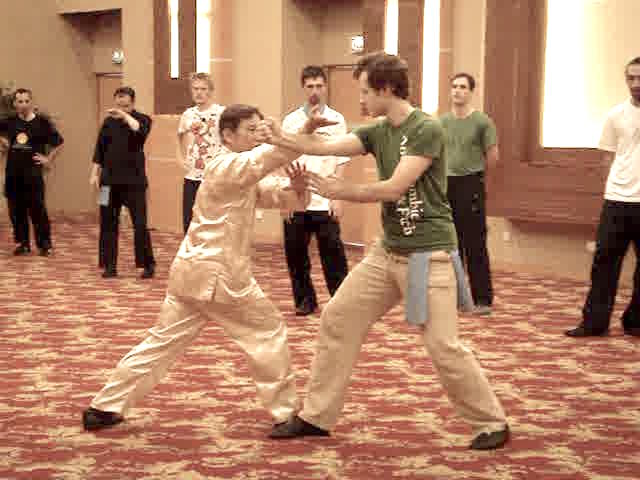
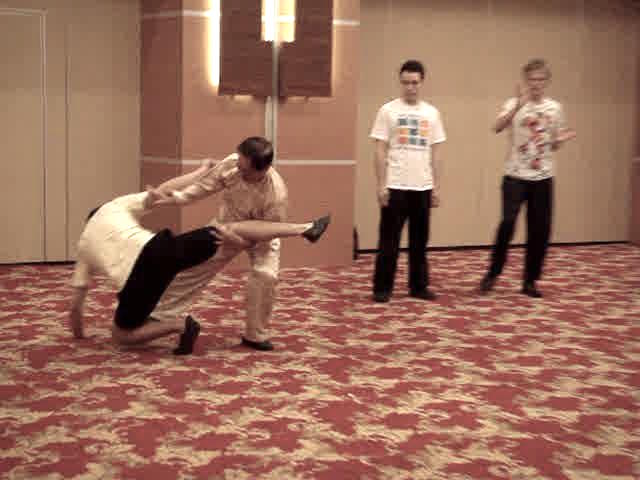
Felling Techniques in Wing Choon Kungfu -- Part 1
Wing Choon Kungfu -- Wing Choon 08
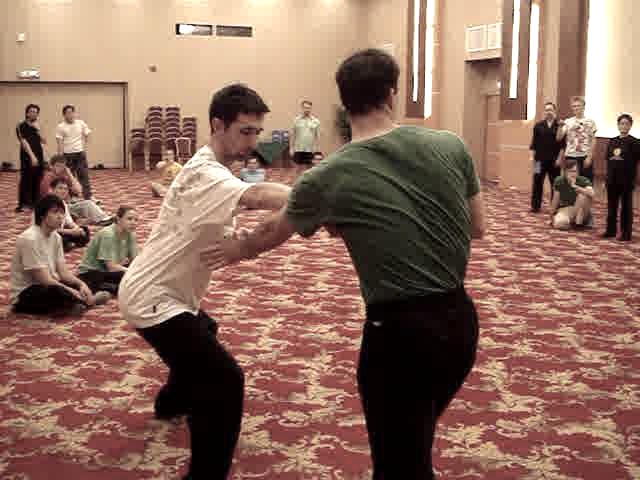
Felling Techniques in Wing Choon Kungfu -- Part 1Felling Techniques in Wing Choon Kungfu -- Part 2
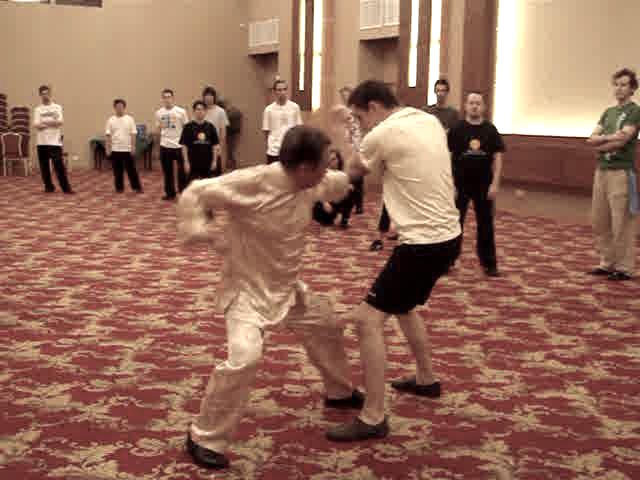
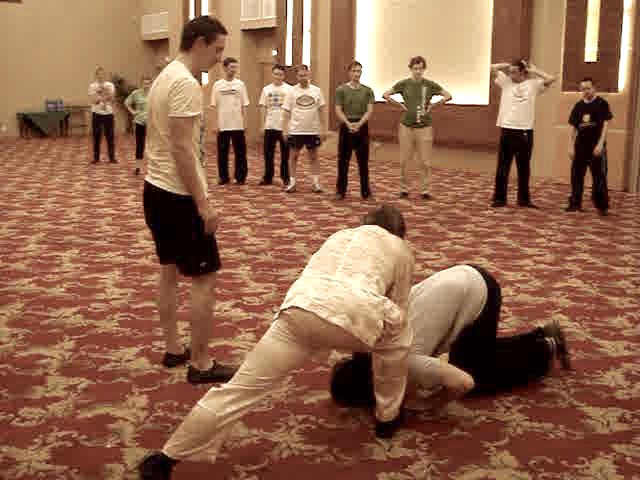
Felling Techniques in Wing Choon Kungfu -- Part 3
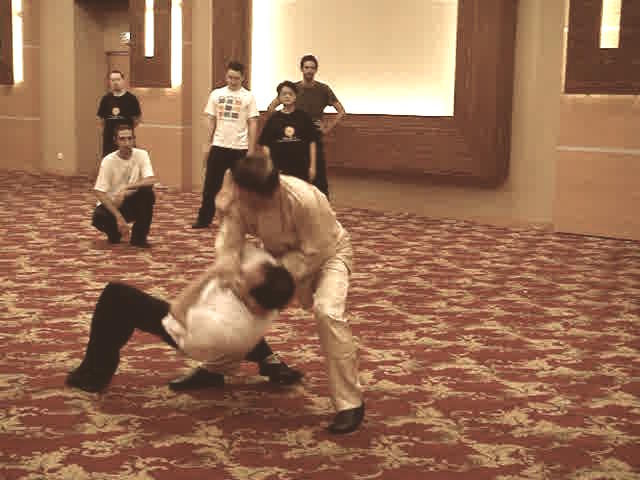
Felling Techniques in Wing Choon Kungfu -- Part 4
Felling Techniques in Wing Choon Kungfu -- Part 5
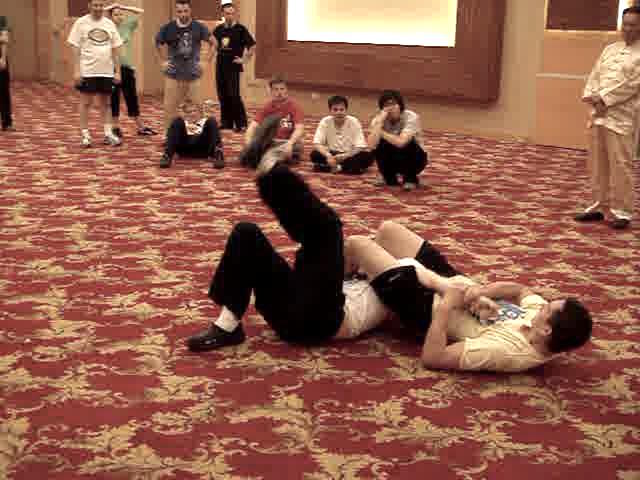
Felling Techniques in Wing Choon Kungfu -- Part 6
Felling Techniques in Wing Choon Kungfu -- Part 7
Felling Techniques in Wing Choon Kungfu -- Part 8
Felling Techniques in Wing Choon Kungfu -- Part 9
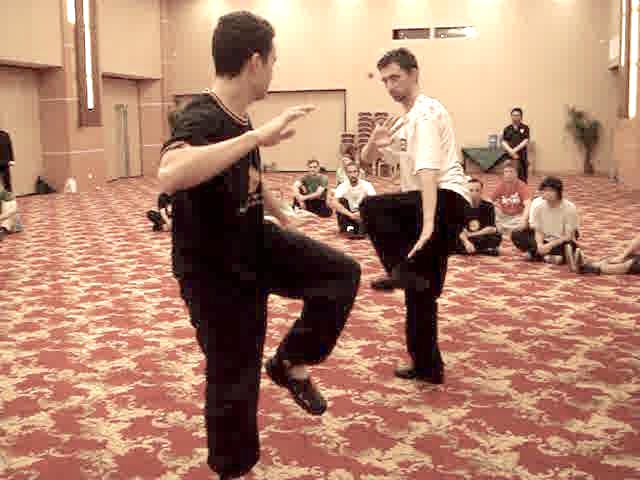
Neutralizing Opponents' Attacks with your Legs -- Part 1
Neutralizing Opponents' Attacks with your Legs -- Part 2
Neutralizing Opponents' Attacks with your Legs -- Part 3
Neutralizing Opponents' Attacks with your Legs -- Part 4
Neutralizing Opponents' Attacks with your Legs -- Part 5
Neutralizing Opponents' Attacks with your Legs -- Part 6
Neutralizing Opponents' Attacks with your Legs -- Part 7
Neutralizing Opponents' Attacks with your Legs -- Part 8
Chin-Na Attacks and their Counters -- Part 1
Chin-Na Attacks and their Counters -- Part 2
Chin-Na Attacks and their Counters -- Part 3
Chin-Na Attacks and their Counters -- Part 4
Chin-Na Attacks and their Counters -- Part 5
Chin-Na Attacks and their Counters -- Part 6
Chin-Na Attacks and their Counters -- Part 7
Chin-Na Attacks and their Counters -- Part 8
Chin-Na Attacks and their Counters -- Part 9
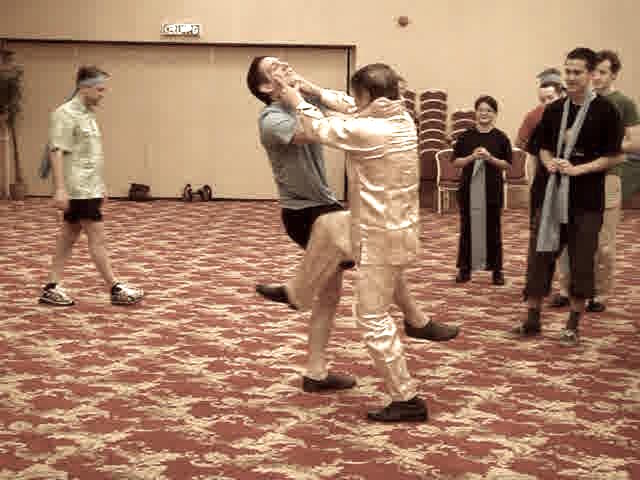
Thiet-Cheit-Na or Fell-Knee-Grip -- Part 1
Thiet-Cheit-Na or Fell-Knee-Grip -- Part 2
Thiet-Cheit-Na or Fell-Knee-Grip -- Part 3
Thiet-Cheit-Na or Fell-Knee-Grip -- Part 4
 Thiet-Cheit-Na or Fell-Knee-Grip -- Part 5
Thiet-Cheit-Na or Fell-Knee-Grip -- Part 6
Thiet-Cheit-Na or Fell-Knee-Grip -- Part 7
Thiet-Cheit-Na or Fell-Knee-Grip -- Part 8
How Elegant Ladies can Handle Muscular Brutes -- Part 1
How Elegant Ladies can Handle Muscular Brutes -- Part 2
How Elegant Ladies can Handle Muscular Brutes -- Part 3
How Elegant Ladies can Handle Muscular Brutes -- Part 4
How Elegant Ladies can Handle Muscular Brutes -- Part 5
How Elegant Ladies can Handle Muscular Brutes -- Part 6
How Elegant Ladies can Handle Muscular Brutes -- Part 7
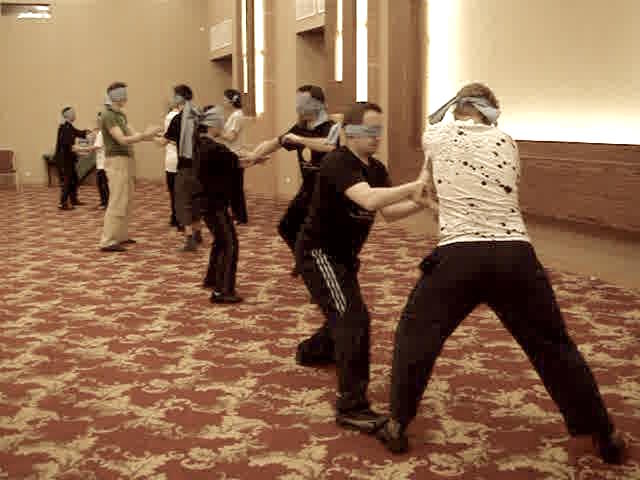
Free Sparring while being Blind-Folded -- Part 1
Free Sparring while being Blind-Folded -- Part 2
Free Sparring while being Blind-Folded -- Part 3
Free Sparring while being Blind-Folded -- Part 4
Free Sparring while being Blind-Folded -- Part 5
Free Sparring while being Blind-Folded -- Part 6
Free Sparring while being Blind-Folded -- Part 7
Free Sparring while being Blind-Folded -- Part
Deflecting Attacks without Looking at Them -- Part 1
Deflecting Attacks without Looking at Them -- Part 2
Deflecting Attacks without Looking at Them -- Part 3
Deflecting Attacks without Looking at Them -- Part 4
Deflecting Attacks without Looking at Them -- Part 5
Deflecting Attacks without Looking at Them -- Part 6
Deflecting Attacks without Looking at Them -- Part 7
Deflecting Attacks without Looking at Them -- Part 8
Felling Techniques in Wing Choon Kungfu -- Overview
Neutralizing Opponents' Attacks with your Legs! -- Overview
Chin-Na Attacks and their Counters -- Overview
 Thiet-Cheit-Na or Fell-Knee-Grip -- Overview
How Elegant Ladies can Handle Muscular Brutes -- Overview
Free Sparring while being Blind-Folded -- Overview
Deflecting Attacks without Looking at Them -- Overview
Wing Choon Kungfu -- Wing Choon 09 Moving from Technique-Level to Sequence-Level
in Sparring -- Part 1
Moving from Technique-Level to Sequence-Level
in Sparring -- Part 2
Moving from Technique-Level to Sequence-Level in Sparring -- Part 3
Moving from Technique-Level to Sequence-Level in Sparring -- Part 4
Moving from Technique-Level to Sequence-Level in Sparring -- Part 5
Moving from Technique-Level to Sequence-Level in Sparring -- Part 6
Moving from Technique-Level to Sequence-Level in Sparring -- Part 7
Moving from Technique-Level to Sequence-Level in Sparring -- Part 8
Moving from Technique-Level to Sequence-Level in Sparring -- Part 9
Moving from Technique-Level to Sequence-Level in Sparring -- Part 10
Small Difference in Movements can make Big Difference in Results -- Part 1
Small Difference in Movements can make Big Difference in Results -- Part 2
Small Difference in Movements can make Big Difference in Results -- Part 3
Small Difference in Movements can make Big Difference in Results -- Part 4
Small Difference in Movements can make Big Difference in Results -- Part 5
Small Difference in Movements can make Big Difference in Results -- Part 6
Small Difference in Movements can make Big Difference in Results -- Part 7
Small Difference in Movements can make Big Difference in Results -- Part 8
Small Difference in Movements can make Big Difference in Results -- Part 9
Small Difference in Movements can make Big Difference in Results -- Part 10
Small Difference in Movements can make Big Difference in Results -- Part 11
Applying Planned Sequence Irrrespective of Opponent's Response! -- Part 1
Applying Planned Sequence Irrrespective of Opponent's Response! -- Part 2
Applying Planned Sequence Irrrespective of Opponent's Response! -- Part 3
Applying Planned Sequence Irrrespective of Opponent's Response! -- Part 4
Applying Planned Sequence Irrrespective of Opponent's Response! -- Part 5
Applying Planned Sequence Irrrespective of Opponent's Response! -- Part 6
Applying Planned Sequence Irrrespective of Opponent's Response! -- Part 7
Applying Planned Sequence Irrrespective of Opponent's Response! -- Part 8
Applying Planned Sequence Irrrespective of Opponent's Response! -- Part 9
 Applying Planned Sequence Irrrespective of
Opponent's Response! -- Part 10
Applying Planned Sequence Irrrespective of
Opponent's Response! -- Part 11
Applying Planned Sequence Irrrespective of
Opponent's Response! -- Part 12
Don't Hand your Defeat to your Opponent -- Part 1
Don't Hand your Defeat to your Opponent -- Part 2
Don't Hand your Defeat to your Opponent -- Part 3
Don't Hand your Defeat to your Opponent -- Part 4
Don't Hand your Defeat to your Opponent -- Part 5
Don't Hand your Defeat to your Opponent -- Part 6
Don't Hand your Defeat to your Opponent -- Part 7
Don't Hand your Defeat to your Opponent -- Part 8
Don't Hand your Defeat to your Opponent -- Part 9
Marvelous Techniques beget Marvelous Techniques -- Part 1
Marvelous Techniques beget Marvelous Techniques -- Part 2
Marvelous Techniques beget Marvelous Techniques -- Part 3
Marvelous Techniques beget Marvelous Techniques -- Part 4
Marvelous Techniques beget Marvelous Techniques -- Part 5
Marvelous Techniques beget Marvelous Techniques -- Part 6
Marvelous Techniques beget Marvelous Techniques -- Part 7
Marvelous Techniques beget Marvelous Techniques -- Part 8
Marvelous Techniques beget Marvelous Techniques -- Part 9
Marvelous Techniques beget Marvelous Techniques -- Part 10
Creating Opportunity to Defeat Opponent -- Part 1
Creating Opportunity to Defeat Opponent -- Part 2
Creating Opportunity to Defeat Opponent -- Part 3
Creating Opportunity to Defeat Opponent -- Part 4
Creating Opportunity to Defeat Opponent -- Part 5
Creating Opportunity to Defeat Opponent -- Part 6
Creating Opportunity to Defeat Opponent -- Part 7
Secrets of Crane Beak and Double Punch -- Part 1
Secrets of Crane Beak and Double Punch -- Part 2Secrets of Crane Beak and Double Punch -- Part 3
Secrets of Crane Beak and Double Punch -- Part 4
Secrets of Crane Beak and Double Punch -- Part 5
Secrets of Crane Beak and Double Punch -- Part 6
Secrets of Crane Beak and Double Punch -- Part 7
Secrets of Crane Beak and Double Punch -- Part 8
Open Secrets and Close Secrets -- Part 1
Open Secrets and Close Secrets -- Part 2
Open Secrets and Close Secrets -- Part 3
Open Secrets and Close Secrets -- Part 4
Open Secrets and Close Secrets -- Part 5
Open Secrets and Close Secrets -- Part 6
Open Secrets and Close Secrets -- Part 7
Open Secrets and Close Secrets -- Part 8
Open Secrets and Close Secrets -- Part 9
Secrets of Sequence Sparring -- Part 1
Secrets of Sequence Sparring -- Part 2
Secrets of Sequence Sparring -- Part 3
Secrets of Sequence Sparring -- Part 4
Secrets of Sequence Sparring -- Part 5
Secrets of Sequence Sparring -- Part 6
Secrets of Sequence Sparring -- Part 7
Moving from Technique-Level to Sequence-Level in Sparring -- Overview
Small Difference in Movements can make Big Difference in Results -- Overview
Applying Planned Sequence Irrrespective of Opponent's Response! -- Overview
Don't Hand your Defeat to your Opponent -- Overview
Marvelous Techniques beget Marvelous Techniques -- Overview
Creating Opportunity to Defeat Opponent -- Overview
Secrets of Crane Beak and Double Punch -- Overview
 Open Secrets and Close Secrets -- Overview
Secrets of Sequence Sparring -- Overview
Wing Choon Kungfu -- Wing Choon 10 Covering the Fast Strikes of a Boxer -- Part 1
Covering the Fast Strikes of a Boxer -- Part 2
Covering the Fast Strikes of a Boxer -- Part 3
Covering the Fast Strikes of a Boxer -- Part 4
Covering the Fast Strikes of a Boxer -- Part 5
Covering the Fast Strikes of a Boxer -- Part 6
Covering the Fast Strikes of a Boxer -- Part 7
Covering the Fast Strikes of a Boxer -- Part 8
Covering the Fast Strikes of a Boxer -- Part 9
Covering the Fast Strikes of a Boxer -- Part 10
Avoliding a Boxer's Strong Points and Attacking his Weakness -- Part 1
Avoliding a Boxer's Strong Points and Attacking his Weakness -- Part 2
Avoliding a Boxer's Strong Points and Attacking his Weakness -- Part 3
Avoliding a Boxer's Strong Points and Attacking his Weakness -- Part 4
Avoliding a Boxer's Strong Points and Attacking his Weakness -- Part 5
Avoliding a Boxer's Strong Points and Attacking his Weakness -- Part 6
Avoliding a Boxer's Strong Points and Attacking his Weakness -- Part 7
Counters against Hooks and Undercuts -- Part 1
Counters against Hooks and Undercuts -- Part 2
Counters against Hooks and Undercuts -- Part 3
Counters against Hooks and Undercuts -- Part 4
Counters against Hooks and Undercuts -- Part 5
Counters against Hooks and Undercuts -- Part 6
Counters against Hooks and Undercuts -- Part 7
Counters against Hooks and Undercuts -- Part 8
Counters against Hooks and Undercuts -- Part 9
Counters against Hooks and Undercuts -- Part 10
Counters against Hooks and Undercuts -- Part 11
Counters against Hooks and Undercuts -- Part 12
Counters against Hooks and Undercuts -- Part 13
 Handling Aggressive Attacks and Counters against
Chain Punches -- Part 1
Handling Aggressive Attacks and Counters against
Chain Punches -- Part 2
Handling Aggressive Attacks and Counters against
Chain Punches -- Part 3
Handling Aggressive Attacks and Counters against
Chain Punches -- Part 4
Handling Aggressive Attacks and Counters against
Chain Punches -- Part 5
Handling Aggressive Attacks and Counters against
Chain Punches -- Part 6
Handling Aggressive Attacks and Counters against Chain Punches -- Part 7
Handling Aggressive Attacks and Counters against Chain Punches -- Part 8
Handling Aggressive Attacks and Counters against Chain Punches -- Part 9
Handling Aggressive Attacks and Counters against Chain Punches -- Part 10
Handling Aggressive Attacks and Counters against Chain Punches -- Part 11
Handling Aggressive Attacks and Counters against Chain Punches -- Part 12
Handling Aggressive Attacks and Counters against Chain Punches -- Part 13
Handling Aggressive Attacks and Counters against Chain Punches -- Part 14
Handling Aggressive Attacks and Counters against Chain Punches -- Part 15
Attacking the Weaknesses of Kick-Boxers -- Part 1
Attacking the Weaknesses of Kick-Boxers -- Part 2
Attacking the Weaknesses of Kick-Boxers -- Part 3
Attacking the Weaknesses of Kick-Boxers -- Part 4
Attacking the Weaknesses of Kick-Boxers -- Part 5
Attacking the Weaknesses of Kick-Boxers -- Part 6
Attacking the Weaknesses of Kick-Boxers -- Part 7
Attacking the Weaknesses of Kick-Boxers -- Part 8
Attacking the Weaknesses of Kick-Boxers -- Part 9
Moving to the Back of an Opponent who Kicks -- Part 1
Moving to the Back of an Opponent who Kicks -- Part 2
Moving to the Back of an Opponent who Kicks -- Part 3
Moving to the Back of an Opponent who Kicks -- Part 4
Moving to the Back of an Opponent who Kicks -- Part 5
Moving to the Back of an Opponent who Kicks -- Part 6
 Moving to the Back of an Opponent who Kicks -- Part 7
Moving to the Back of an Opponent who Kicks -- Part 8
Moving to the Back of an Opponent who Kicks -- Part 9
Effective Counters against Taekwondo Kicks -- Part 1
Effective Counters against Taekwondo Kicks -- Part 2
Effective Counters against Taekwondo Kicks -- Part 3
Effective Counters against Taekwondo Kicks -- Part 4
Effective Counters against Taekwondo Kicks -- Part 5
Effective Counters against Taekwondo Kicks -- Part 6
Effective Counters against Taekwondo Kicks -- Part 7
Effective Counters against Taekwondo Kicks -- Part 8
Effective Counters against Taekwondo Kicks -- Part 9
Covering the Fast Strikes of a Boxer -- Overview
Avoliding a Boxer's Strong Points and Attacking his Weakness -- Overview
Counters against Hooks and Undercuts -- Overview
Handling Aggressive Attacks and Counters against Chain Punches -- Overview
Attacking the Weaknesses of Kick-Boxers -- Overview
Moving to the Back of an Opponent who Kicks -- Overview
Effective Counters against Taekwondo Kicks -- Overview
Wing Choon Kungfu -- Wing Choon 11 Counters against Muay Thai Attacks -- Part 1
Counters against Muay Thai Attacks -- Part 2
Counters against Muay Thai Attacks -- Part 3
Counters against Muay Thai Attacks -- Part 4
Counters against Muay Thai Attacks -- Part 5
Counters against Muay Thai Attacks -- Part 6
Counters against Muay Thai Attacks -- Part 7
Counters against Muay Thai Attacks -- Part 8
Counters against Muay Thai Attacks -- Part 9
Counters against Muay Thai Attacks -- Part 10
 When Leg Comes, Counter with Leg -- Part 1
When Leg Comes, Counter with Leg -- Part 2
When Leg Comes, Counter with Leg -- Part 3
When Leg Comes, Counter with Leg -- Part 4
When Leg Comes, Counter with Leg -- Part 5
When Leg Comes, Counter with Leg -- Part 6
When Leg Comes, Counter with Leg -- Part 7
When Leg Comes, Counter with Leg -- Part 8
Shoots, Lifts and Pin-Downs -- Part 1
Shoots, Lifts and Pin-Downs -- Part 2
Shoots, Lifts and Pin-Downs -- Part 3
Shoots, Lifts and Pin-Downs -- Part 4
Shoots, Lifts and Pin-Downs -- Part 5
Shoots, Lifts and Pin-Downs -- Part 6
Shoots, Lifts and Pin-Downs -- Part 7
Shoots, Lifts and Pin-Downs -- Part 8
Shoots, Lifts and Pin-Downs -- Part 9
Shoots, Lifts and Pin-Downs -- Part 10
Shoots, Lifts and Pin-Downs -- Part 11
Shoots, Lifts and Pin-Downs -- Part 12
Lazy Man Snokes Pipe -- Part 1
Lazy Man Snokes Pipe -- Part 2
Lazy Man Snokes Pipe -- Part 3
Lazy Man Snokes Pipe -- Part 4
Lazy Man Snokes Pipe -- Part 5
Lazy Man Snokes Pipe -- Part 6
Lazy Man Snokes Pipe -- Part 7
Lazy Man Snokes Pipe -- Part 8
Lazy Man Snokes Pipe -- Part 9
Having Fun with Wrestling Attacks and Counters -- Part 1
 Having Fun with Wrestling Attacks and Counters -- Part 2
Having Fun with Wrestling Attacks and Counters -- Part 3
Having Fun with Wrestling Attacks and Counters -- Part 4
Having Fun with Wrestling Attacks and Counters -- Part 5
Having Fun with Wrestling Attacks and Counters -- Part 6
Having Fun with Wrestling Attacks and Counters -- Part 7
Having Fun with Wrestling Attacks and Counters -- Part 8
Having Fun with Wrestling Attacks and Counters -- Part 9
Having Fun with Wrestling Attacks and Counters -- Part 10
Having Fun with Wrestling Attacks and Counters -- Part 11
How did Past Wing Choon Masters Deal with Wrestler and Grapplers -- Part 1
How did Past Wing Choon Masters Deal with Wrestler and Grapplers -- Part 2
How did Past Wing Choon Masters Deal with Wrestler and Grapplers -- Part 3
How did Past Wing Choon Masters Deal with Wrestler and Grapplers -- Part 4
How did Past Wing Choon Masters Deal with Wrestler and Grapplers -- Part 5
How did Past Wing Choon Masters Deal with Wrestler and Grapplers -- Part 6
>How did Past Wing Choon Masters Deal with Wrestler and Grapplers -- Part 7
How did Past Wing Choon Masters Deal with Wrestler and Grapplers -- Part 8
How did Past Wing Choon Masters Deal with Wrestler and Grapplers -- Part 9
How did Past Wing Choon Masters Deal with Wrestler and Grapplers -- Part 10
How did Past Wing Choon Masters Deal with Wrestler and Grapplers -- Part 11
Free Movement Chi Sau while being Blind-Folded -- Part 1
Free Movement Chi Sau while being Blind-Folded -- Part 2
Free Movement Chi Sau while being Blind-Folded -- Part 3
Free Movement Chi Sau while being Blind-Folded -- Part 4
Free Movement Chi Sau while being Blind-Folded -- Part 5
Free Movement Chi Sau while being Blind-Folded -- Part 6
Free Movement Chi Sau while being Blind-Folded -- Part 7
Free Movement Chi Sau while being Blind-Folded -- Part 8
Free Movement Chi Sau while being Blind-Folded -- Part 9
 Free Movement Chi Sau while being Blind-Folded -- Part 10
Free Movement Chi Sau while being Blind-Folded -- Part 11
Free Movement Chi Sau while being Blind-Folded -- Part 12
Free Movement Chi Sau while being Blind-Folded -- Part 13
Counters against Muay Thai Attacks -- Overview
When Leg Comes, Counter with Leg -- Overview
Shoots, Lifts and Pin-Downs -- Overview
Lazy Man Snokes Pipe -- Overview
Having Fun with Wrestling Attacks and Counters -- Overview
How did Past Wing Choon Masters Deal with Wrestler
and Grapplers -- Overview
Free Movement Chi Sau while being Blind-Folded -- Overview
Wing Choon Kungfu Sets -- Overview